Meat Lovers Bread: Your New Favorite Savory Bake!
This Meat Lovers Bread delivers maximum savory satisfaction, transforming a loaf into a hearty dish perfect for sharing.
It incorporates three distinct meat types and a blend of cheeses, requiring only 15 minutes of active preparation time.
Serve this flavorful bread as a robust appetizer for parties, a substantial game day snack, or a fulfilling side dish with soup or salad.
The recipe utilizes convenient store-bought dough, simplifying the process for all skill levels. Each slice features a generous topping of crispy bacon, savory sausage, and zesty pepperoni, all bound together with melted mozzarella and parmesan. Baking results in a golden-brown crust and a gooey, irresistible interior. Customize this bread by varying cheese types or incorporating other cured meats. This dish provides a reliable solution for feeding a crowd or a simple, satisfying weeknight meal.
Meat Lovers Bread
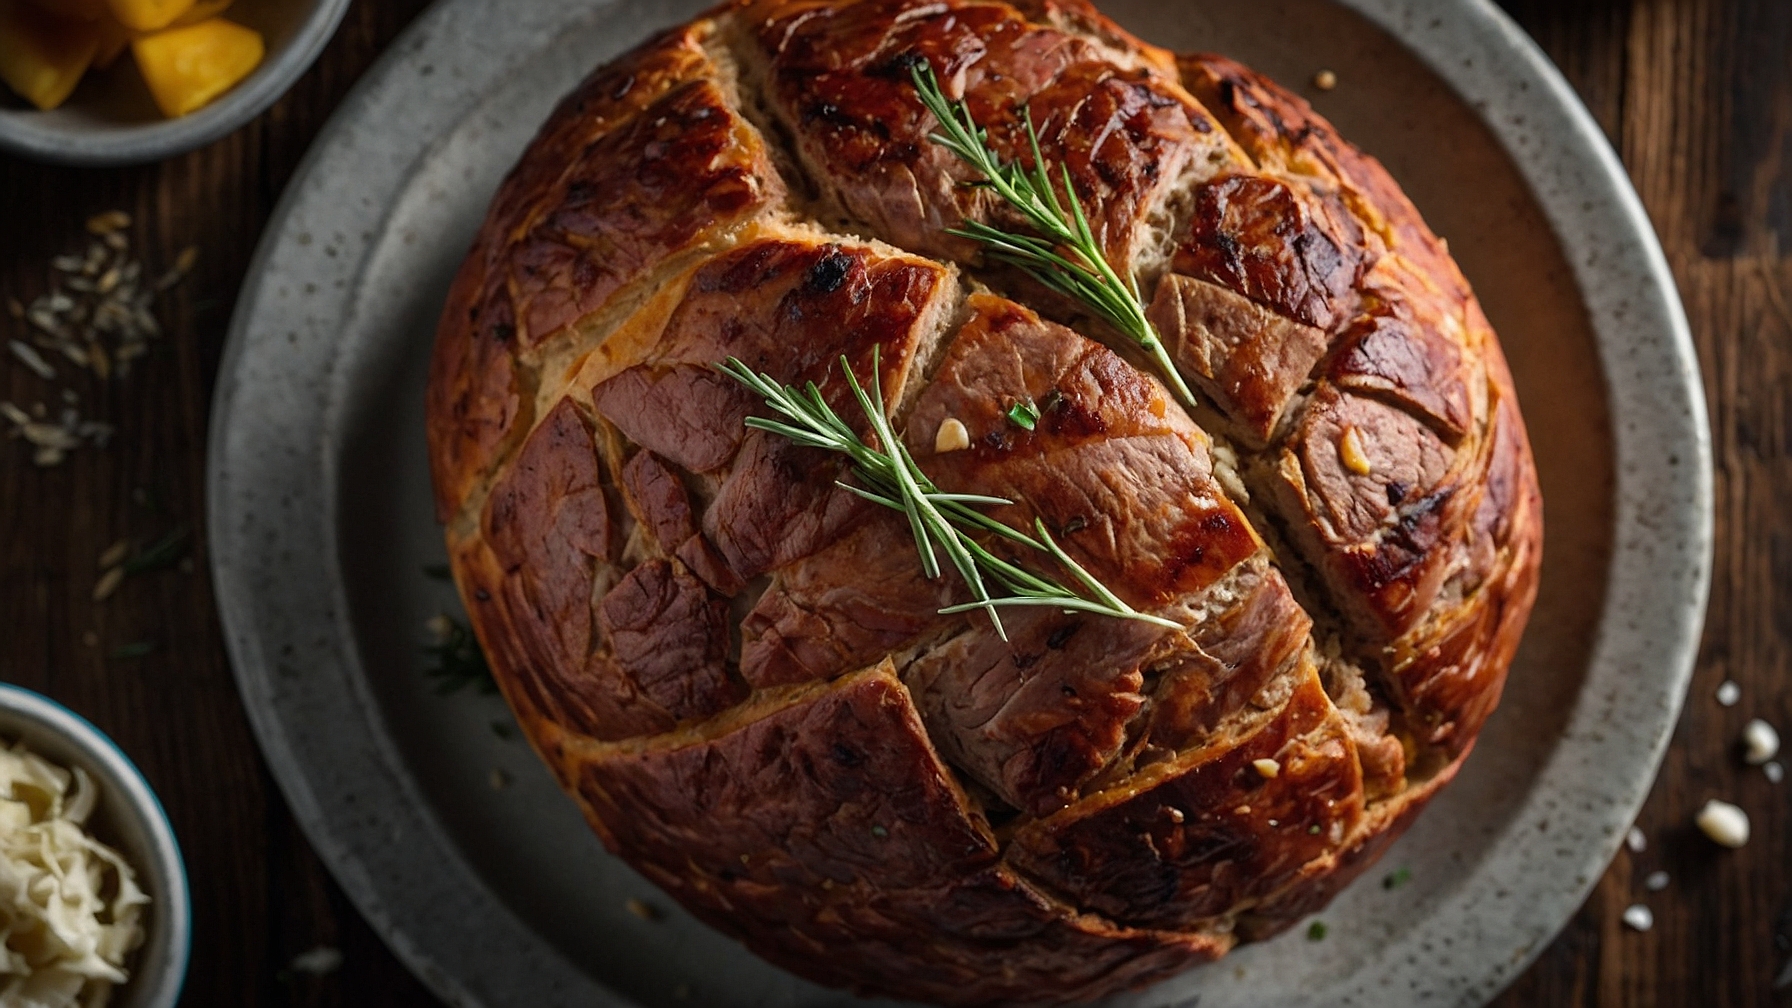
A pull-apart loaf filled with seasoned meats and melted cheeses.
Ingredients
- 1 cup (240ml) warm water, 105-115°F (40-46°C)
- 2 ¼ teaspoons (7g) active dry yeast
- 1 teaspoon (4g) granulated sugar
- 3 cups (360g) all-purpose flour, plus 2-3 tablespoons (24-36g) for dusting
- 1 teaspoon (6g) fine sea salt
- 2 tablespoons (30ml) olive oil, plus 1 tablespoon (15ml) for oiling bowl
- 1 lb (450g) ground Italian sausage, casings removed
- 6 slices (170g) thick-cut smoked bacon, rendered crispy and crumbled
- ½ cup (50g) mini pepperoni slices, or regular pepperoni diced
- 2 cloves (10g) garlic, minced
- ½ medium (75g) red onion, diced
- 1 teaspoon (2g) dried oregano
- ½ teaspoon (1g) dried basil
- ¼ teaspoon (0.5g) red pepper flakes
- 1 ½ cups (170g) mozzarella cheese, shredded
- ½ cup (55g) provolone cheese, shredded
- ¼ cup (25g) Parmesan cheese, grated
- 1 large (50g) egg, beaten, for egg wash
- 1 tablespoon (15ml) cold water, for egg wash
- 2 tablespoons (8g) fresh parsley, chopped, for garnish
Instructions
- Combine 1 cup (240ml) warm water (105-115°F / 40-46°C), 1 teaspoon (4g) granulated sugar, and 2 ¼ teaspoons (7g) active dry yeast in a large mixing bowl. Let stand for 5-7 minutes until frothy.
- Whisk 3 cups (360g) all-purpose flour and 1 teaspoon (6g) fine sea salt in a separate large bowl until combined.
- Pour activated yeast mixture and 2 tablespoons (30ml) olive oil into dry ingredients. Mix with a wooden spoon or stand mixer (low speed) for 2-3 minutes until a shaggy dough forms.
- Turn dough onto a lightly floured surface. Knead for 8-10 minutes, adding flour if sticky, until smooth and elastic. (For stand mixer, knead on medium-low speed for 6-8 minutes until dough clears bowl sides and is smooth, elastic).
- Grease a large bowl with 1 tablespoon (15ml) olive oil. Add dough ball, flip to coat. Cover with plastic wrap or a damp towel. Let rise in a warm, draft-free place (70-75°F / 21-24°C) for 60-90 minutes, until doubled in size.
- Heat a large skillet over medium-high heat. Add 1 lb (450g) ground Italian sausage; break apart. Cook for 8-10 minutes, stirring occasionally, until browned. Drain fat. Transfer sausage to a large mixing bowl.
- Add 6 slices (170g) bacon to the same skillet. Cook over medium heat for 6-8 minutes, turning often, until crisp and golden brown. Remove bacon to paper towels. Cool slightly, then crumble and add to the sausage bowl.
- Reduce skillet heat to medium. Add ½ medium (75g) diced red onion and 2 cloves (10g) minced garlic. Sauté for 3-5 minutes, stirring often, until onion softens and garlic is fragrant.
- Add sautéed red onion and garlic to the sausage and bacon. Stir in ½ cup (50g) mini pepperoni slices, 1 teaspoon (2g) dried oregano, ½ teaspoon (1g) dried basil, and ¼ teaspoon (0.5g) red pepper flakes. Mix until combined.
- Combine 1 ½ cups (170g) shredded mozzarella cheese, ½ cup (55g) shredded provolone cheese, and ¼ cup (25g) grated Parmesan cheese in a bowl. Toss to mix.
- Preheat oven to 375°F (190°C) for 15-20 minutes. Grease a 9×5 inch (23×13 cm) loaf pan, or line with parchment paper leaving an overhang.
- Punch down dough. Turn onto a lightly floured surface. Roll into an 18×12 inch (45×30 cm) rectangle, ¼ inch (0.6 cm) thick.
- Spread meat filling over the dough rectangle, leaving a ½ inch (1.2 cm) border. Sprinkle cheese mixture over the meat filling.
- Starting from a long side, tightly roll the dough into a log. Pinch the seam closed. Tuck and pinch ends underneath.
- Transfer loaf to the prepared 9×5 inch (23×13 cm) loaf pan, seam-side down. Cover loosely with plastic wrap or a damp towel. Let rise in a warm, draft-free spot for 30-45 minutes, until puffy and filling the pan.
- Whisk 1 large (50g) egg and 1 tablespoon (15ml) cold water until combined.
- Brush risen loaf with egg wash. Place pan in preheated oven. Bake for 35-40 minutes, until golden brown and an internal temperature of 200-205°F (93-96°C) is reached.
- Remove loaf from oven. Cool in pan on a wire rack for 10-15 minutes. Lift bread from pan and place on wire rack. Cool for 30 minutes before slicing.
- Slice cooled bread. Garnish with 2 tablespoons (8g) fresh chopped parsley. Serve warm.
Notes
- If bread browns too quickly, tent with aluminum foil for remaining bake time.
- Substitute meat filling with diced cooked ham, crumbled cooked breakfast sausage, or shredded cooked chicken. Use Monterey Jack or sharp cheddar cheese for variation.
- Store cooled bread in an airtight container at room temperature for up to 2 days, or refrigerated for up to 4 days. For freezing, wrap slices or loaf in plastic wrap, then foil, freeze for up to 1 month. Thaw at room temperature, reheat in oven or microwave.
Pro Tips for Perfect Meat Lovers Bread
Ingredient Tips
- Bacon Crisping:Pre-crisp 6 slices of thick-cut bacon in a skillet over medium heat for 7-9 minutes until uniformly golden brown and it shatters easily, then crumble into 1/4-inch pieces for optimal texture.
- Sausage Browning:Brown 1 pound of bulk Italian sausage over medium-high heat for 6-8 minutes, breaking into 1/2-inch crumbles with a spoon, then drain off at least 2 tablespoons of rendered fat and cool below 75°F.
- Cheese Selection:Use 1.5 cups (6 oz) of freshly grated low-moisture mozzarella; pre-shredded varieties contain anti-caking agents that hinder a smooth, melty texture in your bread.
- Yeast Activation:Activate 2 ¼ teaspoons of active dry yeast in 1 cup of whole milk heated to precisely 105°F-115°F for 5-10 minutes until a foamy cap at least 1/2-inch thick confirms its vitality.
- Aromatic Sauté:Sauté 1 medium minced yellow onion and 2 minced garlic cloves in 1 tablespoon of olive oil over medium-low heat for 8-10 minutes until softened and translucent, not browned, for a sweet base.
Technique Tips
- Dough Kneading:Knead dough in a stand mixer with a dough hook for 8-10 minutes on medium-low speed (speed 2) until it becomes smooth, elastic, and passes the windowpane test (stretching thin without tearing).
- First Rise:Allow dough to proof in a lightly oiled, covered bowl in a warm spot (75°F-80°F) for 60-90 minutes, until visibly doubled in size and a gentle poke leaves a slow-rebounding indent.
- Filling Integration:Cool all pre-cooked meat and onion fillings to below 75°F, typically taking 20-30 minutes, before adding to the dough, preventing yeast from dying and compromising the rise.
- Baking Temperature:Bake bread in a preheated oven at 375°F (190°C) for 30-35 minutes, or until the top is deep golden brown and an instant-read thermometer registers 200°F-205°F in the center.
Common Issues
- Dense or Dry Bread:If your bread is dense or dry, reduce flour by 1/4 cup (30g) in the next batch, or add 1-2 tablespoons of milk during kneading until dough feels soft and slightly tacky, but not sticky.
- Soggy Bottom:Prevent a soggy bottom by thoroughly draining at least 2-3 tablespoons of rendered fat and moisture from pre-cooked meat fillings, and consider baking on the lowest oven rack for the initial 15 minutes.
- Filling Spillage:Prevent filling spillage by rolling dough to an even 12×16-inch rectangle, leaving a 1/2-inch border free of filling, and firmly pinching seams, tucking ends under by 1 inch before baking.
- Top Browning Too Fast:If the top browns excessively after 20 minutes of baking but is below 200°F internally, loosely tent with aluminum foil for the remaining 10-15 minutes to ensure even cooking without scorching.
How to Store, Reheat, and Serve Meat Lovers Bread
Refrigerator Storage
Duration: 3-4 days for optimal quality, up to 5 days for food safety in an airtight container
To maximize freshness and prevent spoilage, store your Meat Lovers Bread in an airtight glass container or a heavy-duty plastic container with a sealed, tight-fitting lid. This specific type of container minimizes air exposure, which is crucial for preventing the bread from drying out and the meats from oxidizing. While it remains safe to consume for up to 5 days, the bread’s texture will gradually soften, absorbing moisture from the savory, meaty filling. The delightful crispy crust from fresh baking will diminish, becoming chewier. The robust flavors of the meats and cheese will meld further, but the fresh ‘brightness’ of recently baked ingredients will subtly fade after day 3. For the best culinary experience, aim to consume it within 3 days.
Freezer Storage
Duration: 1-2 months
For effective freezer storage that prevents freezer burn and preserves quality, allow your Meat Lovers Bread to cool completely to room temperature first. Wrap individual slices or smaller, manageable sections tightly in plastic wrap, ensuring every surface is completely covered and no air pockets remain. Follow this with a second protective layer of aluminum foil. Finally, place the double-wrapped portions into a freezer-safe, heavy-duty zip-top bag or an airtight freezer container. This multi-layer approach is essential for maintaining moisture and preventing flavor transfer. To thaw, transfer the frozen bread to the refrigerator overnight, allowing approximately 8-12 hours. Expect the bread’s texture to be slightly denser or a touch chewier after thawing and reheating compared to its fresh state, and the cheese might exhibit a slightly less creamy consistency.
Reheating Instructions
- Oven (Recommended for crispness):Preheat oven to 375°F (190°C). Place slices directly on a baking sheet. Reheat for 10-15 minutes, or until the cheese is bubbly and the edges of the bread are slightly crisp. This method works best for restoring a crispy texture to the bread.
- Air Fryer (Excellent for quick crisping):Preheat air fryer to 325°F (160°C). Arrange slices in a single layer in the basket, ensuring they do not overlap. Reheat for 5-8 minutes, or until the cheese is melted and the bread is golden and lightly crisped. This offers a quicker crisping alternative to the oven.
- Microwave (Quickest, but alters texture):Place a single slice on a microwave-safe plate. Heat on high for 30-60 seconds per slice, or until warm throughout. This method is acceptable for speed, but the bread may become soft or rubbery, and the cheese might be greasy, sacrificing the desirable crispy texture.
Make-Ahead Tips
The convenience of Meat Lovers Bread can be significantly enhanced by preparing key components in advance. The cooked meat mixture (ground sausage, crumbled bacon, pepperoni, etc.) can be fully cooked and drained of excess fat up to 2-3 days ahead. Allow it to cool completely before storing it in an airtight container in the refrigerator. Similarly, your blend of shredded cheeses (e.g., mozzarella, provolone, cheddar) can be mixed and stored in a separate airtight container or resealable bag in the refrigerator for up to 3 days. The bread itself (such as a French baguette or Italian loaf) can be sliced lengthwise or into individual portions up to 1 day in advance; store it in a loosely covered container to prevent it from drying out too much. On baking day, simply assemble the prepped components onto the bread and proceed with the specified baking instructions, drastically cutting down on active preparation time.