Maple Bacon Pancake Muffins: Your Favorite Breakfast, Reimagined!
Maple Bacon Pancake Muffins simplify your morning routine by combining the beloved flavors of pancakes, maple, and crispy bacon into a convenient, portable form.
This efficient recipe requires only 10 minutes of active preparation time and bakes up in just 20 minutes, leveraging a standard muffin tin for easy individual portions.
They are an excellent choice for a quick weekday breakfast, a crowd-pleasing addition to any brunch spread, or a perfect make-ahead item to simplify meal prep. Serve them warm with a drizzle of extra maple syrup or alongside a fresh fruit salad for a complete and satisfying start to your day.
Maple Bacon Pancake Muffins
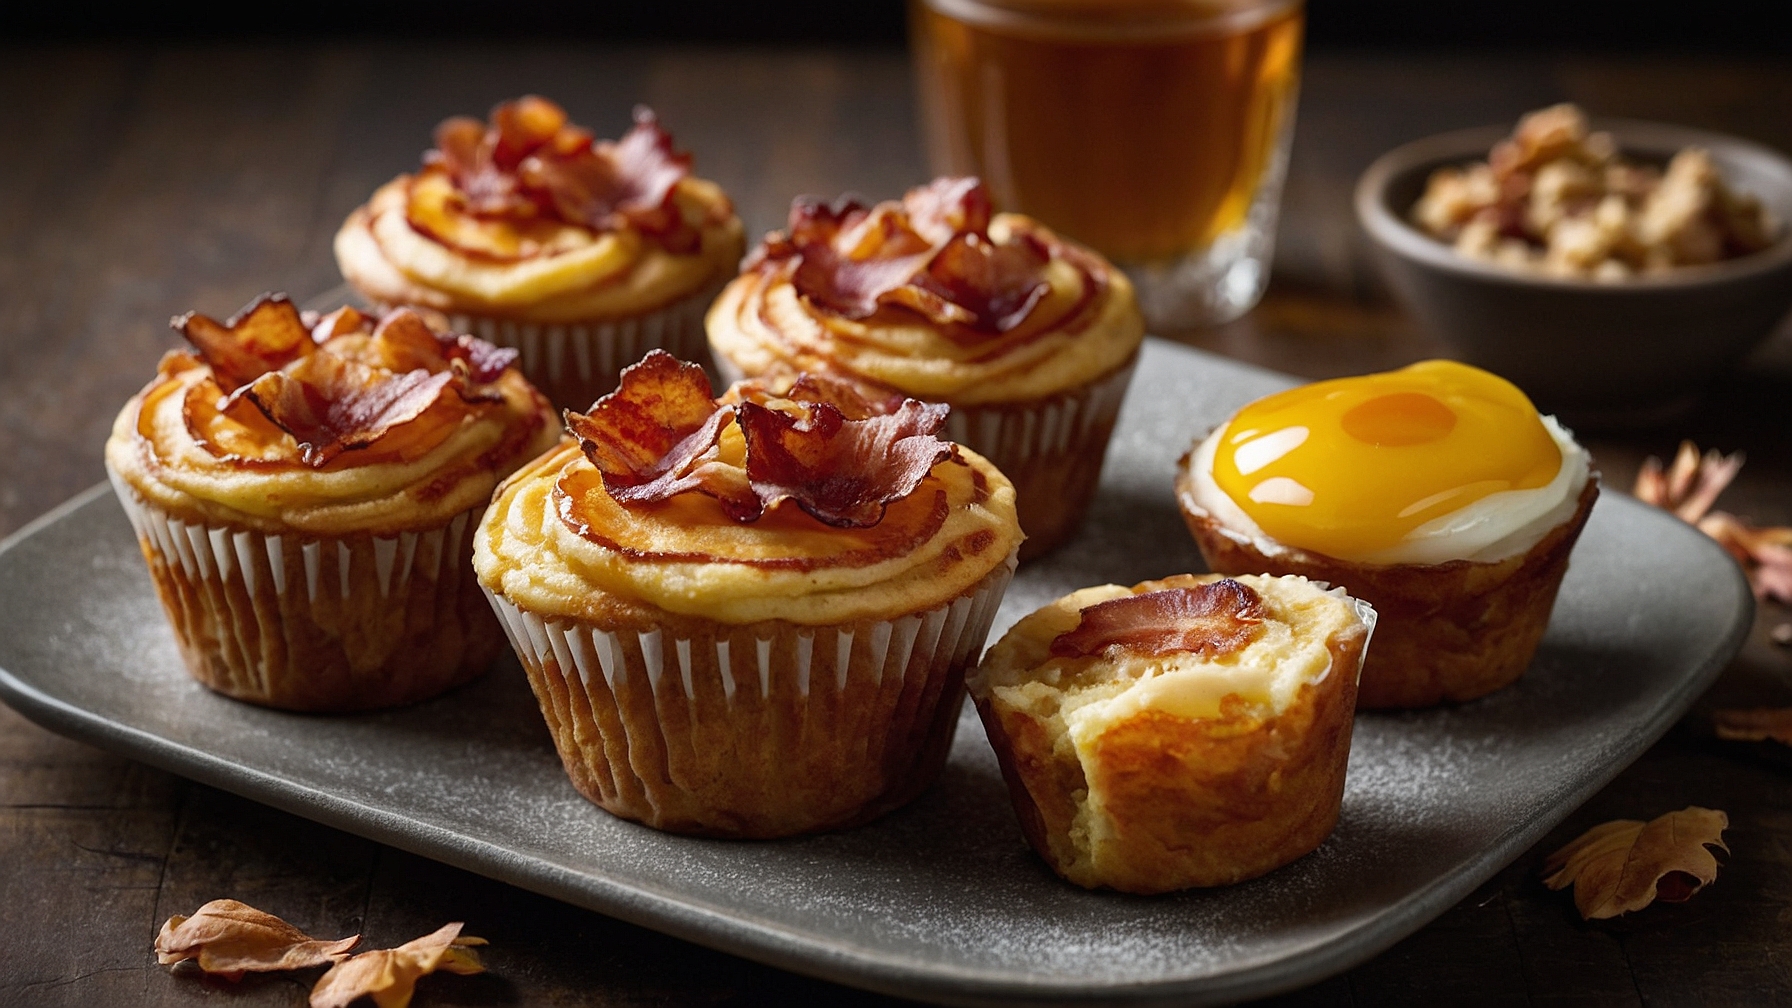
Pancake muffins featuring crispy bacon bits, baked, and finished with a sweet maple glaze. Serve for breakfast or brunch.
Ingredients
For the Crispy Bacon:
- 6 slices (approx. 170g) thick-cut bacon, cut into ½-inch (1.25cm) pieces
For the Pancake Muffins:
- 1 ½ cups (180g) all-purpose flour, sifted
- 2 tablespoons (25g) granulated sugar
- 2 teaspoons baking powder
- ½ teaspoon baking soda
- ¼ teaspoon fine sea salt
- 1 large egg, at room temperature, lightly beaten
- 1 cup (240ml) buttermilk, at room temperature
- ¼ cup (60ml) unsalted butter, melted and cooled slightly
- 2 tablespoons (30ml) pure maple syrup
- ½ teaspoon pure vanilla extract
For the Maple Glaze:
- 1 cup (120g) powdered sugar, sifted
- 2-3 tablespoons (30-45ml) pure maple syrup
Instructions
- Preheat oven to 375°F (190°C). Line a standard 12-cup muffin tin with paper liners or grease thoroughly with non-stick spray or butter.
- Place ½-inch (1.25cm) thick-cut bacon pieces in a large skillet over medium heat. Cook 7-10 minutes, stirring occasionally, until crispy and golden brown. Remove bacon with a slotted spoon; transfer to paper towel-lined plate to drain. Reserve 1 tablespoon (15ml) bacon grease or discard.
- In a large mixing bowl, whisk sifted all-purpose flour, granulated sugar, baking powder, baking soda, and fine sea salt until combined.
- In a separate medium mixing bowl, whisk lightly beaten large egg, room temperature buttermilk, melted and slightly cooled unsalted butter, 2 tablespoons (30ml) pure maple syrup, and pure vanilla extract until smooth.
- Pour wet ingredient mixture into dry ingredient mixture. Fold with a spatula or wooden spoon until just combined. Do not overmix; a few small lumps are acceptable.
- Fold two-thirds of the bacon bits into the muffin batter. Distribute evenly.
- Divide batter evenly among 12 prepared muffin cups, filling each two-thirds to three-quarters full. Sprinkle remaining one-third of bacon bits over tops of filled cups.
- Transfer muffin tin to preheated oven. Bake 16-18 minutes until tops are golden brown, lightly domed, and a wooden skewer inserted into center comes out clean.
- Remove muffin tin from oven. Cool muffins in tin 5 minutes. Transfer muffins to a wire rack; cool completely 20-30 minutes before glazing.
- In a small bowl, whisk sifted powdered sugar with 2 tablespoons (30ml) pure maple syrup. Add up to 1 additional tablespoon (15ml) maple syrup until glaze is smooth and pourable.
- Once muffins are completely cooled, drizzle prepared maple glaze over tops of each muffin. Allow glaze to set 5-10 minutes before serving.
Notes
- Overmixing develops gluten, resulting in dense muffins. Mix only until wet and dry ingredients are just combined; a few small lumps are acceptable.
- Use thick-cut bacon for best flavor and texture. Regular-cut bacon cooks faster, yields smaller pieces. Cook bacon until very crispy for optimal contrast.
- To substitute buttermilk, combine 1 cup (240ml) milk (dairy or non-dairy) with 1 tablespoon (15ml) lemon juice or white vinegar. Let sit 5-10 minutes until slightly curdled; then use.
- Use room temperature egg and buttermilk. This aids emulsification with melted butter, creating a smoother batter and improved muffin texture.
- Store in an airtight container at room temperature up to 2 days, or in refrigerator up to 4 days. Reheat in microwave 10-15 seconds or toaster oven 300°F (150°C) for 5-7 minutes until heated.
- For variations, add ½ cup (80g) mini chocolate chips or ⅓ cup (40g) chopped toasted pecans or walnuts to batter with bacon bits. Add ¼ teaspoon cinnamon or nutmeg to dry ingredients.
- Wait until muffins are completely cool before glazing. Warm muffins cause glaze to melt and absorb, resulting in a less defined, sticky coating.
Pro Tips for Perfect Maple Bacon Pancake Muffins
Ingredient Tips
- Select the Right Bacon:Opt for thick-cut, unsmoked bacon. Oven-bake 8-10 slices at 400°F (200°C) for 15-20 minutes until uniformly crispy but not brittle. This prevents it from becoming too chewy or disappearing in the batter. Let cool for 5 minutes before chopping into 1/4-inch pieces.
- Boost Maple Flavor:Use Grade A Dark Robust maple syrup (formerly Grade B) for its stronger, richer flavor. Incorporate 1/4 cup directly into the wet ingredients and reserve an additional 2 tablespoons to whisk with 1/2 teaspoon of cinnamon for a pre-bake glaze.
- Flour Preparation:Sift 1.5 cups of all-purpose flour twice before measuring, then again into the dry ingredients. This aeration prevents dense muffins, ensuring a light, tender crumb. Visual cue: The flour should look light and fluffy, almost cloud-like.
- Buttermilk Temperature:Ensure 1 cup of buttermilk is at room temperature (around 70°F or 21°C). Cold buttermilk can seize the melted butter, resulting in a lumpy batter. If cold, microwave for 10-15 seconds or let it sit on the counter for 30 minutes.
- Butter Melted, Not Browned:Melt 1/4 cup unsalted butter gently over low heat until just liquid (around 90°F or 32°C). Do not brown the butter, as the nutty flavor can overpower the delicate pancake profile. It should be clear yellow, not amber.
Technique Tips
- Prevent Bacon Sinking:Toss your 1/4-inch chopped, crispy bacon bits with 1 teaspoon of the measured flour before folding them into the batter. This light coating helps suspend the bacon throughout the muffins, preventing it from sinking to the bottom during baking, ensuring even distribution.
- Proper Batter Mixing:Combine wet and dry ingredients with a whisk for only 15-20 seconds. Mix until just moistened, leaving small lumps; overmixing develops gluten, leading to tough, chewy muffins. The batter should be thick but pourable, resembling heavy cream.
- Muffin Tin Filling:Fill each paper-lined muffin cup to precisely 3/4 full (about 1/4 cup of batter). This allows for optimal dome formation without overflowing and ensures consistent muffin size and baking time. Use a 1/4 cup measuring spoon for accuracy.
- Two-Stage Baking:Start baking at 425°F (220°C) for an initial 5 minutes, then reduce the oven temperature to 375°F (190°C) for an additional 12-15 minutes. This thermal shock creates a rapid initial rise, yielding beautifully domed muffin tops. Bake until golden brown.
- Glaze Application:After reducing the oven temperature, brush the muffin tops lightly with the reserved 2 tablespoons of maple-cinnamon glaze. This creates a slightly caramelized, shiny crust and intensifies the maple aroma, without making them overly sticky.
Common Issues
- Dry and Crumbly Muffins:This usually indicates overbaking. Ensure your oven temperature is accurate with an oven thermometer. Bake only until the muffin edges are golden brown and a toothpick inserted into the center comes out with moist crumbs, not wet batter. Reduce baking time by 1-2 minutes if consistently dry.
- Flat, Undomed Tops:This can be due to old leavening agents or under-filling. Check the expiration date on your baking powder; it loses potency after 6-12 months. Also, ensure muffin cups are filled 3/4 full, not just halfway, to provide sufficient batter for a good rise.
- Soggy or Dense Bottoms:Often caused by cooling in the muffin tin or an overly thin batter. Transfer muffins to a wire rack within 5 minutes of removing from the oven to allow air circulation and prevent steam condensation. If batter seems too thin, add 1-2 tablespoons more flour.
- Bacon Is Chewy/Not Crispy:This means the bacon wasn’t rendered enough initially. Cook your thick-cut bacon longer, aiming for a deep golden brown and slightly brittle texture before chopping. Drain thoroughly on paper towels for at least 3 minutes to remove excess grease and prevent softness.
- Maple Flavor Is Lost:You likely used too little or a light-grade syrup. Increase the maple syrup in the batter by 1-2 tablespoons (to a total of 1/2 cup) and consider a final drizzle of warm maple syrup (about 1/2 teaspoon per muffin) just before serving for an intensified aroma and taste.
How to Store, Reheat, and Serve Your Muffins
Ensuring your Maple Bacon Pancake Muffins remain delicious days after baking requires proper storage and reheating techniques. Follow these guidelines to keep them fresh and flavorful, whether you’re enjoying them the next morning or weeks later.
Refrigerator Storage
Duration: 5-7 days in airtight container
For optimal freshness, store your completely cooled muffins in an airtight glass or heavy-duty plastic container. This prevents them from absorbing refrigerator odors and helps retain moisture. Over time, the fluffy pancake base will gradually lose some of its initial softness, becoming slightly firmer. The crispy bacon bits will soften considerably, and while the maple essence remains, its vibrant aroma might mellow after day 5. Beyond 7 days, the muffins tend to dry out significantly, and the bacon’s texture becomes less appealing, indicating a decline in overall quality.
Freezer Storage
Duration: 2-3 months
Maple Bacon Pancake Muffins freeze exceptionally well, allowing you to enjoy them weeks later. Ensure muffins are completely cooled to prevent condensation and ice crystal formation. For best results and to combat freezer burn, individually wrap each muffin tightly in plastic wrap, then follow with a layer of aluminum foil. This double layer provides superior protection. Place the double-wrapped muffins into a heavy-duty freezer bag, expelling as much air as possible, or an airtight freezer-safe container. When ready to enjoy, thaw frozen muffins overnight in the refrigerator (approximately 4-6 hours) or at room temperature for 1-2 hours before reheating. Expect the pancake base to have a slightly denser, less airy texture compared to fresh, and the bacon might remain chewier rather than re-crisping fully.
Reheating Instructions
- Oven (Best Method for Overall Quality):Preheat your oven to 350°F (175°C). Place refrigerated muffins on a baking sheet and heat for 12-15 minutes. If reheating from frozen, increase the time to 20-25 minutes. The muffins are ready when they are warmed through to the center, and the bacon bits show signs of re-crisping. This method best preserves the muffin’s structural integrity and gently re-crisps the bacon.
- Air Fryer (Excellent for Crispness):Preheat your air fryer to 325°F (160°C). Place 2-3 refrigerated muffins in a single layer in the basket and heat for 5-7 minutes. For frozen muffins, cook for 8-10 minutes. This method excels at developing a slightly crisp exterior and re-crisping the bacon effectively, making it a great alternative to the oven.
- Microwave (Quick but May Alter Texture):Place one muffin on a microwave-safe plate. Heat refrigerated muffins for 20-30 seconds. For frozen muffins, microwave for 45-60 seconds, or until warm to the touch. Be aware that microwaving can cause the pancake base to become slightly chewy or rubbery, and the bacon will not regain any crispness, often becoming softer. We recommend the oven or air fryer for superior texture.
Make-Ahead Tips
Streamline your breakfast prep with these make-ahead tips. The dry ingredients for the pancake muffin base (flour, baking powder, sugar, salt) can be pre-measured and combined. Store this mixture in a sealed bag or airtight container at room temperature in a cool, dark pantry for several weeks. Additionally, the bacon can be cooked and crumbled in advance. Cook and crisp your desired amount of bacon, then pat it dry and crumble it. Store the cooked, crumbled bacon in an airtight container in the refrigerator for up to 3 days. This significantly reduces active cooking time on busy mornings, allowing for quicker assembly and baking.