Peppermint Brownie Cookies: Your New Favorite Holiday Treat!
Bake incredibly fudgy Peppermint Brownie Cookies with a festive cool mint crunch in under an hour.
The straightforward recipe uses a single bowl for mixing and bakes in just 12 minutes per batch, yielding a perfect chewy texture with crisp edges.
These seasonal treats are ideal for holiday cookie platters, festive gifting, or as a special dessert to enjoy during the winter months.
Peppermint Brownie Cookies
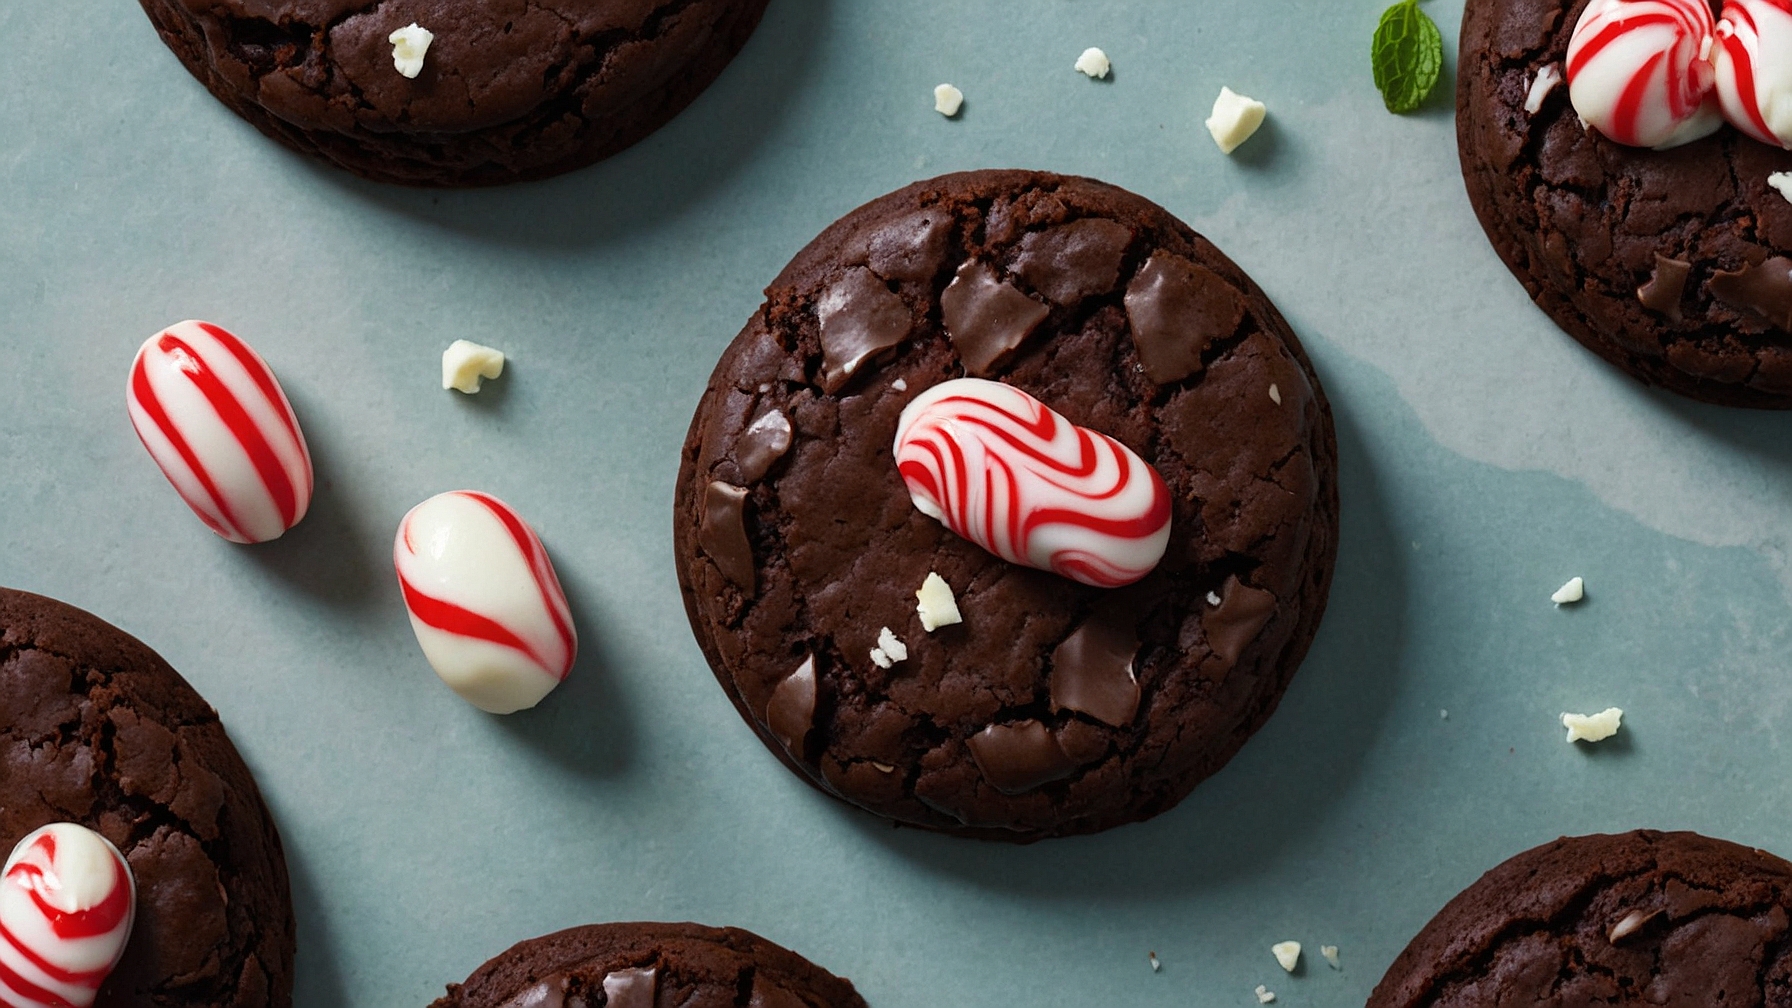
Fudgy chocolate brownie cookies topped with creamy peppermint glaze and crushed candy canes.
Ingredients
- 1 cup (226g) unsalted butter, melted and slightly cooled
- 1 cup (200g) granulated sugar
- 1 cup (200g) light brown sugar, packed
- 4 large eggs, at room temperature
- 1 teaspoon (5ml) pure vanilla extract
- ½ teaspoon (2.5ml) peppermint extract
- 1 cup (120g) all-purpose flour
- ¾ cup (75g) unsweetened cocoa powder, sifted
- 1 teaspoon (5g) baking powder
- ½ teaspoon (2.5g) salt
- 1 cup (170g) semi-sweet chocolate chips
For the Peppermint Glaze:
- 2 cups (240g) powdered sugar (confectioners’ sugar), sifted
- ¼ cup (60ml) milk (or heavy cream)
- ½ teaspoon (2.5ml) pure vanilla extract
- ¼ teaspoon (1.25ml) peppermint extract
- ⅛ teaspoon (0.6g) salt
For Garnish:
- ½ cup (75g) crushed candy canes
Instructions
- Adjust oven rack to middle position. Preheat oven to 350°F (175°C). Line two large baking sheets with parchment paper or silicone mats.
- Melt 1 cup (226g) unsalted butter in a microwave-safe bowl in 30-second intervals until liquid. Cool for 5 minutes.
- Combine melted butter, 1 cup (200g) granulated sugar, and 1 cup (200g) packed light brown sugar in a large bowl. Mix with a whisk or electric mixer on medium speed for 1-2 minutes until smooth and light brown.
- Beat in 4 large eggs one at a time until the mixture is glossy and thick. Stir in 1 teaspoon (5ml) vanilla extract and ½ teaspoon (2.5ml) peppermint extract.
- Whisk 1 cup (120g) all-purpose flour, ¾ cup (75g) sifted unsweetened cocoa powder, 1 teaspoon (5g) baking powder, and ½ teaspoon (2.5g) salt in a separate medium bowl until no lumps remain.
- Add dry ingredients to wet mixture. Mix on low speed (or by hand) until just combined and no flour streaks remain.
- Fold in 1 cup (170g) semi-sweet chocolate chips with a spatula until evenly distributed.
- Cover bowl. Chill dough in refrigerator for 30-60 minutes until firm.
- Scoop 2-tablespoon portions of dough onto prepared baking sheets, spacing 2 inches (5 cm) apart.
- Bake one sheet at a time for 9-11 minutes, until edges are set and centers are fudgy.
- Remove from oven. Cool cookies on baking sheets for 5 minutes. Transfer to wire rack to cool completely.
- Whisk 2 cups (240g) sifted powdered sugar, ¼ cup (60ml) milk, ½ teaspoon (2.5ml) vanilla extract, ¼ teaspoon (1.25ml) peppermint extract, and ⅛ teaspoon (0.6g) salt in a medium bowl until smooth. Adjust consistency with more milk (1 teaspoon/5ml at a time) or powdered sugar.
- Spoon or drizzle glaze over cooled cookies.
- Immediately sprinkle ½ cup (75g) crushed candy canes over wet glaze.
- Allow glazed cookies to set at room temperature for 30-60 minutes until firm.
Notes
- For stronger peppermint flavor, add an extra ⅛ teaspoon (0.6ml) peppermint extract to dough or glaze.
- Store cooled, glazed cookies in an airtight container at room temperature for 3-4 days.
- Substitute crushed candy canes with finely crushed peppermints or white chocolate chips if unavailable.
Pro Tips for Perfect Peppermint Brownie Cookies
Ingredient Tips
- Dutch-Processed Cocoa:Use exactly 1/2 cup (48g) Dutch-processed cocoa powder for a deep, rich brown color and smoother chocolate flavor; this yields a fudgier brownie base with a less acidic taste compared to natural cocoa.
- High-Quality Chocolate:Opt for a dark chocolate bar (60-72% cacao) weighing 4 oz (113g) for melting, not chips; its superior fat content creates a glossier, more intensely flavored cookie with a desirable crackled top.
- Precise Peppermint Extract:Incorporate 1/2 teaspoon pure peppermint extract initially. Taste a small crumb of batter; add an additional 1/4 teaspoon if needed, but do not exceed 1 teaspoon total to prevent an overwhelming, medicinal flavor.
- Cool Melted Butter:Melt 1/2 cup (113g) unsalted butter completely, then cool it to precisely 80°F (27°C) before combining with sugar and eggs; this prevents egg scrambling and ensures a perfectly smooth batter for chewy, dense cookies.
- Weighed Flour:Measure 3/4 cup (90g) all-purpose flour by weight using a kitchen scale rather than volume; this critical accuracy prevents over-measuring, which results in dry, cakey cookies instead of fudgy ones.
Technique Tips
- Aerate Eggs and Sugar:Whisk 2 large eggs and 1 cup (200g) granulated sugar vigorously for 3-5 minutes with an electric mixer on medium-high speed until the mixture is pale yellow, thick, and streams slowly off the whisk, holding its shape for 2-3 seconds; this aeration creates the signature shiny, crinkled top crust.
- Crucial Dough Chill:Refrigerate the cookie dough for a minimum of 30 minutes, or up to 2 hours, before scooping; this firms up the butter and fats, preventing excessive spreading in the oven and promoting a thicker, chewier cookie with defined edges.
- Exact Baking Time:Bake scooped cookies at 350°F (175°C) for precisely 10-12 minutes; remove them when the edges are set and a beautiful crackled top has formed, but the center still appears slightly soft and gooey – they will continue to set as they cool for a fudgy interior.
- Late Candy Cane Addition:Gently fold in 1/2 cup (approx. 80g) crushed candy canes during the very last 15-20 seconds of mixing the dough to prevent them from dissolving into the batter and to preserve their distinct crunchy texture.
- Proper Cooling Protocol:Allow baked cookies to cool undisturbed on the baking sheet for 5 minutes before carefully transferring them to a wire rack; this initial cooling period helps them firm up and prevents breakage, which is especially important for fudgier cookies.
Common Issues
- Cookies Spreading Excessively:Increase the dough chill time to at least 45 minutes to firm the butter. If the problem persists, reduce melted butter by 1 tablespoon (14g) in the next batch to slightly stiffen the batter, yielding thicker, chewier cookies.
- Lack of Cracked Tops:Ensure you whisk the eggs and sugar for the full 3-5 minutes, until the mixture is pale, thick, and forms a slow-dissolving ribbon; this vital aeration is crucial for developing the characteristic shiny, crinkled surface.
- Cakey/Dry Texture:Accurately measure your flour by weight to 90g (3/4 cup) to avoid over-measuring, which absorbs too much moisture. Additionally, reduce baking time by 1-2 minutes, aiming for edges that are just set and a slightly soft, gooey center.
- Insufficient Peppermint Flavor:Verify you are using pure peppermint extract, not mint extract. In your next batch, add an extra 1/4 teaspoon (totaling 3/4 teaspoon) to the wet ingredients for a more pronounced, yet balanced, mint taste.
- Melted or Hard Candy Canes:To prevent melting, crush 1/2 cup candy canes into uniform pieces no larger than 1/8 inch. Fold them into the dough only in the last 15-20 seconds of mixing to ensure distinct, slightly softened crunch.
Storage, Make-Ahead & Ingredient Swaps for Your Peppermint Brownie Cookies
Refrigerator Storage
Duration: 5-7 days in an airtight container
To maintain optimal freshness and prevent them from drying out, store your baked Peppermint Brownie Cookies in an airtight glass or plastic container. While they can sit at cool room temperature for up to 2-3 days, refrigerating them will extend their shelf life significantly to 5-7 days. When refrigerated, the rich, fudgy texture of the cookies will firm up considerably, becoming denser and chewier. The vibrant peppermint flavor will remain strong, but the chocolate notes might seem slightly muted when cold. For the best flavor experience, allow refrigerated cookies to come to room temperature for 15-20 minutes before enjoying, or follow the reheating instructions below. Quality may begin to decline after day 5, with edges potentially becoming drier, though still perfectly edible.
Freezer Storage
Duration: 1-2 months
For longer-term enjoyment, Peppermint Brownie Cookies freeze beautifully for up to 1-2 months. To freeze, ensure the cookies are completely cooled to prevent condensation and ice crystals. Arrange them in a single layer on a parchment-lined baking sheet and freeze until solid, typically 1-2 hours. Once firm, transfer the frozen cookies to a heavy-duty freezer-safe bag or an airtight freezer container. For best results, layer the cookies with small squares of parchment paper to prevent them from sticking together. Thaw frozen cookies at room temperature for 1-2 hours, or overnight in the refrigerator for a gradual thaw. Expect a slight change in texture; while still moist, they may be marginally denser or chewier than freshly baked, and the peppermint kick might mellow ever so slightly. Beyond two months, the cookies may start to develop freezer burn, affecting their texture and flavor.
Reheating Instructions
- Oven:Preheat oven to 300°F (150°C). Place chilled or room-temperature cookies on a baking sheet. Reheat for 5-8 minutes. They are ready when the edges feel warm and the center is soft and gooey to the touch, resembling their fresh-baked state. This method is highly recommended, as it best restores the cookies’ fudgy texture and makes the chocolate wonderfully melty.
- Microwave:Place an individual cookie on a microwave-safe plate. Heat on medium power (50-70%) for 10-20 seconds. Start with 10 seconds and add time in 5-second increments until warm. The cookie should be warm and soft, but avoid overheating to prevent it from becoming tough or rubbery. This method is acceptable for quick convenience but can significantly alter the cookie’s delicate texture, making it softer or chewier than ideal.
Make-Ahead Tips
These Peppermint Brownie Cookies are excellent for make-ahead preparation. The unbaked cookie dough can be made in advance and stored. Wrap the dough tightly in plastic wrap or place it in an airtight container in the refrigerator for up to 3 days. When ready to bake, let the dough sit at room temperature for 10-15 minutes to soften slightly before scooping and baking as usual. For longer storage, portion the dough into balls, then freeze them individually on a parchment-lined tray until solid (about 1-2 hours). Once frozen, transfer the dough balls to a heavy-duty freezer bag or an airtight freezer-safe container, where they will keep for up to 1 month. You can bake the frozen dough balls directly from the freezer, adding 2-4 minutes to the recommended baking time, or thaw them in the refrigerator overnight before baking. Baked cookies, as detailed above, also store exceptionally well, making them ideal for holiday gifting or batch baking.