Homemade Cherry Pitter: Pit Cherries with Ease (DIY Style!)
This ingenious homemade cherry pitter offers an efficient and cost-effective way to prepare fresh cherries without requiring a dedicated kitchen gadget.
You can easily assemble this effective tool in under 60 seconds using only two common kitchen items, ensuring a clean pit removal every time. It’s a remarkably practical solution for handling an abundance of cherries, preventing messy hands and fruit damage often associated with other pitting methods.
This simple technique is incredibly useful for processing large quantities of fruit, making cherry preparation quicker for pies, jams, tarts, or for enjoying fresh, pit-free snacks.
Homemade Cherry Pitter
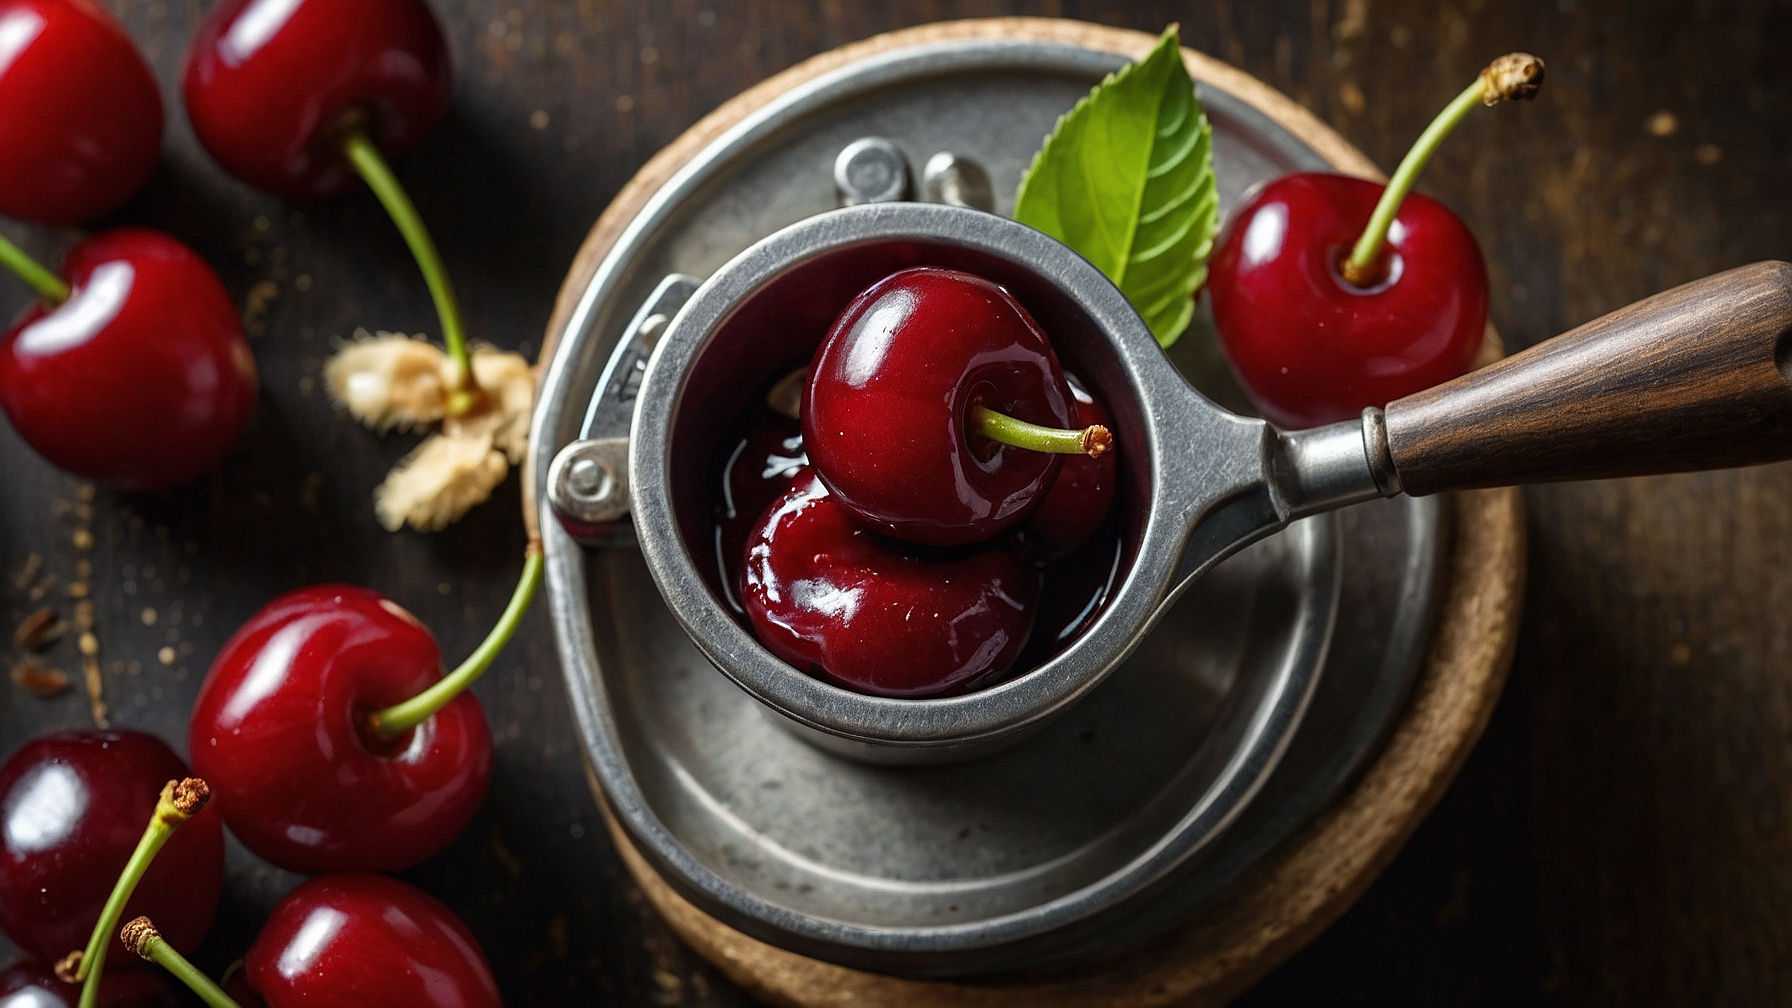
Construct an efficient homemade cherry pitter using common household items for quick, mess-free cherry preparation.
Materials
- 2 plastic water bottles (500ml / 16.9 fl oz), empty, clean, labels removed.
- 1 wooden chopstick or metal skewer (25-30 cm / 10-12 inches length, 3-5 mm / 0.12-0.2 inches diameter), straight, with a rounded tip.
- 1 pair utility scissors or craft knife.
- 1 fine-tip permanent marker.
- 1 ruler or measuring tape (30 cm / 12 inches).
- 1 cutting mat or thick cardboard.
- 1 roll strong adhesive tape (2.5 cm / 1 inch width), e.g., duct, electrical, or packing tape.
- Optional: 1 small piece fine-grit sandpaper (~220-400 grit).
- Optional: 1 pair cut-resistant gloves.
- Optional: 1 damp cloth.
Instructions for Assembly
- 1. Prepare Workspace: Gather all specified materials and tools. Place cutting mat. Wear cut-resistant gloves for safety.
- 2. Cut Pit Collection Base: Take the first plastic bottle. Measure 10-12 cm (4-5 inches) up from its base with a ruler. Draw a continuous line. Cut along this line with scissors or a craft knife. The severed bottom section forms the pit collection chamber.
- 3. Smooth Base Edges: Inspect the cut edge of the base for sharpness. Smooth with fine-grit sandpaper for 1-2 minutes, or trim with scissors until smooth and safe to touch.
- 4. Create Cherry Platform Hole: Take the second bottle. Draw a 1.5-2 cm (0.6-0.8 inches) diameter circle on its shoulder, centered over the opening. Cut this circle out with a craft knife, ensuring a clean hole.
- 5. Refine Platform Section: Cut the second bottle to separate the top section (neck and shoulder) 3-4 cm (1.2-1.6 inches) from the neck’s top. Inspect edges for sharpness. Smooth with sandpaper or trim with scissors for 1 minute until clean and safe.
- 6. Assemble Pitter Structure: Invert the cherry holding platform. Place onto the pit collection base. Center the platform, aligning the pit hole directly above the base opening. Ensure components fit securely, forming a stable two-part structure.
- 7. Secure Components: Wrap strong adhesive tape around the joining seam where the platform meets the base. Apply tape firmly, overlapping slightly. Use multiple layers until sections are immovably joined, creating a cohesive pitter unit.
- 8. Prepare Pushing Mechanism: Examine your chopstick or skewer. Ensure it is straight and sturdy. Verify one end is tapered to pierce cherries easily without excessive damage.
- 9. Conduct Test Pitting: Place a cherry onto the holding platform, centered over the pit hole. Position the chopstick over the cherry. Apply gentle, steady downward pressure. The pit should pass cleanly through the cherry into the collection base, confirming proper function.
- 10. Refine Performance: If the pit doesn’t clear easily, assess the issue. Enlarge the pit hole slightly with a craft knife (e.g., 0.5 cm / 0.2 inches more) or gently round the chopstick tip. Make adjustments for 2-3 minutes until the pitter operates smoothly and efficiently.
- 11. Final Inspection: Perform a final safety check: ensure all cut edges are smooth and taped sections are secure. Wipe down the pitter with a damp cloth if needed. The pitter is now clean, stable, and functionally tested, ready for use.
Notes
- Customizing for Cherry Size: Adjust the pit hole diameter for cherry variety. A larger hole (up to 2.5 cm / 1 inch) suits large cherries. A smaller hole (down to 1 cm / 0.4 inches) suits small sour cherries. This ensures optimal fruit support during pitting.
- Material Alternatives: A sturdy cardboard tube can replace the plastic bottle base, but is less durable and washable. For the pusher, a strong metal or reusable plastic straw works for tiny cherries; a chopstick offers superior rigidity for most varieties.
- Cleaning and Maintenance: After each use, rinse the pitter thoroughly under warm water with mild dish soap. Use a small brush to clean any residue from the pit hole and chopstick. Air dry all parts completely (30-60 minutes) before storing. This prevents mold and odors.
- Safety Precautions: Exercise caution with sharp objects. Adult supervision is essential if children are involved. Wear cut-resistant gloves during cutting phases to prevent injury.
- Efficiency Tips: Maximize pitting speed by working in batches. Position a bowl for pitted cherries and a waste bowl for pits. Hold the pitter firmly with one hand, the chopstick with the other. Develop a rhythm for quick, uninterrupted processing.
Pro Tips for an Effective Homemade Cherry Pitter
Material Selection & Preparation Tips
- Poking Tool Rigidity:Select a metal poking tool with a minimum 0.125 inches (3.175 mm) diameter, like a sturdy metal skewer; this ensures a straight push, ejecting the pit cleanly without crushing fruit.
- Base Stability:Use a non-slip cutting board at least 0.75 inches thick as your base; it prevents pitter shifting, ensuring consistent alignment during pitting and reducing slips.
- Cherry Rest Hole Size:Choose a bottle cap with an opening of exactly 0.5 inches (1.27 cm); this supports medium cherries (0.75-1 inch diameter) securely, allowing pits to pass easily.
- Pit Collection Container:Position a 2-cup capacity bowl directly beneath the rest; it collects pits efficiently from 1.5 pounds of cherries before emptying, maintaining a clean workspace.
Assembly & Usage Technique Tips
- Stable Assembly:Secure your cherry-rest cap to the base with 1 teaspoon of hot glue; allow 10 minutes to cool and set firmly, guaranteeing the cherry remains centered for pitting.
- Precise Alignment:Orient each cherry with its stem end upwards, directly over the hole; this aligns with the natural cavity, facilitating clean pit extraction in 9 out of 10 attempts.
- Controlled Pushing Force:Apply steady, downward pressure for 1-2 seconds per cherry; this fluid motion minimizes flesh tearing and cleanly ejects the pit.
- Batch Processing Strategy:Wash and dry 20-30 cherries completely before starting; this maintains momentum, pitting 1.5 pounds (60-70 cherries) in a concentrated 10-15 minute session.
Troubleshooting & Optimization Tips
- Pit Sticking in Fruit:If pits fragment, sharpen your metal poking tool tip with 220-grit sandpaper for 30 seconds; a sharper point creates cleaner entry/exit, reducing adherence.
- Cherry Slipping:Apply a 1-inch by 1-inch piece of non-slip shelf liner to the cherry rest; this provides friction, securing the cherry firmly during the 1-2 second pitting action.
- Slow Pitting Rate:If below 4 cherries per minute, ensure the pit container is immediately beneath and emptied every 1.5 pounds of cherries; optimizing workflow speeds the process by 25%.
- Juice Splatter:Place a 6-inch high clear plastic shield around the cherry rest area; this contains errant juice sprays, keeping your workspace clean and preventing staining.
Common Mistakes to Avoid for Perfect Pitting
Common Mistakes
- Cherry Tearing or Squishing:
- Often happens due to an oversized pitting tool or sudden, excessive force, resulting in a mangled, juicy mess.
- Exact Fix: Select a pitting tool (e.g., chopstick, metal straw) approximately 1/4 inch (6mm) smaller than the average cherry’s diameter. Place the cherry stem-side up on a sturdy, narrow bottle opening. Apply slow, steady pressure directly over the stem’s dimple, pushing until you feel a soft release as the pit dislodges, typically within 1-2 seconds per cherry, avoiding a forceful jab.
- Pit Not Dislodging Cleanly:
- Occurs when the tool is misaligned with the pit, is too small for a large pit, or due to inconsistent downward pressure, leaving fragments behind or requiring multiple attempts.
- Exact Fix: Always align the tool’s tip precisely with the small indentation where the stem was removed. Push completely through until the pit emerges cleanly from the bottom opening. If the pit feels stubbornly stuck, gently twist the tool 1/8 turn while maintaining consistent downward pressure to loosen it, until no resistance is felt and the pit is fully free.
- Excessive Juice Splatter:
- This messy outcome often happens when cherries are pitted freehand or into a shallow bowl, causing juice and pits to spray widely upon expulsion.
- Exact Fix: Utilize a sturdy, narrow-necked glass bottle (like a soda or beer bottle) as your designated pitting stand. Position the cherry directly over the bottle’s opening, stem-side up, ensuring the cherry sits stable without rocking. This allows the pit to fall cleanly into the bottle. The bottle neck should be no wider than 1 inch (2.5 cm) to provide an ideal, contained platform.
- Slow & Inefficient Pitting Process:
- A haphazard setup without a clear workflow leads to awkward hand movements, wasted time between cherries, and quickly builds fatigue and frustration.
- Exact Fix: Create an organized assembly line: Place a bowl of unpitted cherries to your dominant hand’s side. Position your pitting station (cherry on bottle, tool ready) directly in front of you. Place an empty bowl for pitted cherries to your non-dominant hand’s side. Maintain a consistent, smooth pace, aiming to pit one cherry every 2-3 seconds, moving rhythmically between bowls.
Key Techniques
- The “Bottle & Chopstick” Precision Method:
- Choose a sturdy glass bottle with a narrow neck (e.g., beer or soda bottle) and a durable wooden chopstick or a narrow metal straw (approx. 1/8 inch or 3mm diameter). Place a single cherry, stem-side up, centered directly over the bottle’s opening, ensuring it sits stable without wobbling, resembling a small cap. Position the chopstick tip exactly on the dimple where the stem was attached. Apply steady, downward pressure. You will feel a distinct, subtle “pop” as the pit detaches. Continue pushing until the chopstick exits the cherry entirely, visually confirming the pit has fallen into the bottle. The cherry should now have a clean, round hole, taking roughly 2 seconds per cherry.
- Optimizing Your Workspace for Speed:
- Designate a clear, well-lit, and ergonomic pitting area. Arrange your setup in a straight line: a large bowl of whole cherries, your pitting bottle with the tool poised, and a receiving bowl for pitted cherries. This flow minimizes unnecessary hand movement. Work in batches of 15-20 cherries, maintaining a smooth, repetitive motion, like a gentle piston. Maintain a consistent, almost meditative rhythm until the unpitted cherry bowl is approximately half empty. Visually track your progress: when the unpitted cherry bowl looks visibly lighter and the pitted cherry bowl looks substantial, you’re hitting your stride.
- Adapting Tool Size for Different Cherry Varieties:
- Not all cherries are created equal, and tool selection is crucial. The key is to select a tool whose diameter is precisely 1/4 inch (approximately 6mm) less than the cherry’s average width, to create a minimal, clean exit wound. For larger varieties like Bing or Rainier cherries, opt for a slightly wider tool, such as a 1/4 inch (6mm) diameter metal straw. For smaller, often sour varieties like Montmorency, a standard wooden chopstick (approx. 1/8 inch or 3mm diameter at the tip) is ideal, minimizing the resulting hole size. The visual cue here is the hole size: it should look neat and contained, not ragged or gaping, when each cherry is inspected visually after pitting.