Red Lobster Biscuit Chicken Pot Pie: A Comfort Food Dream Come True
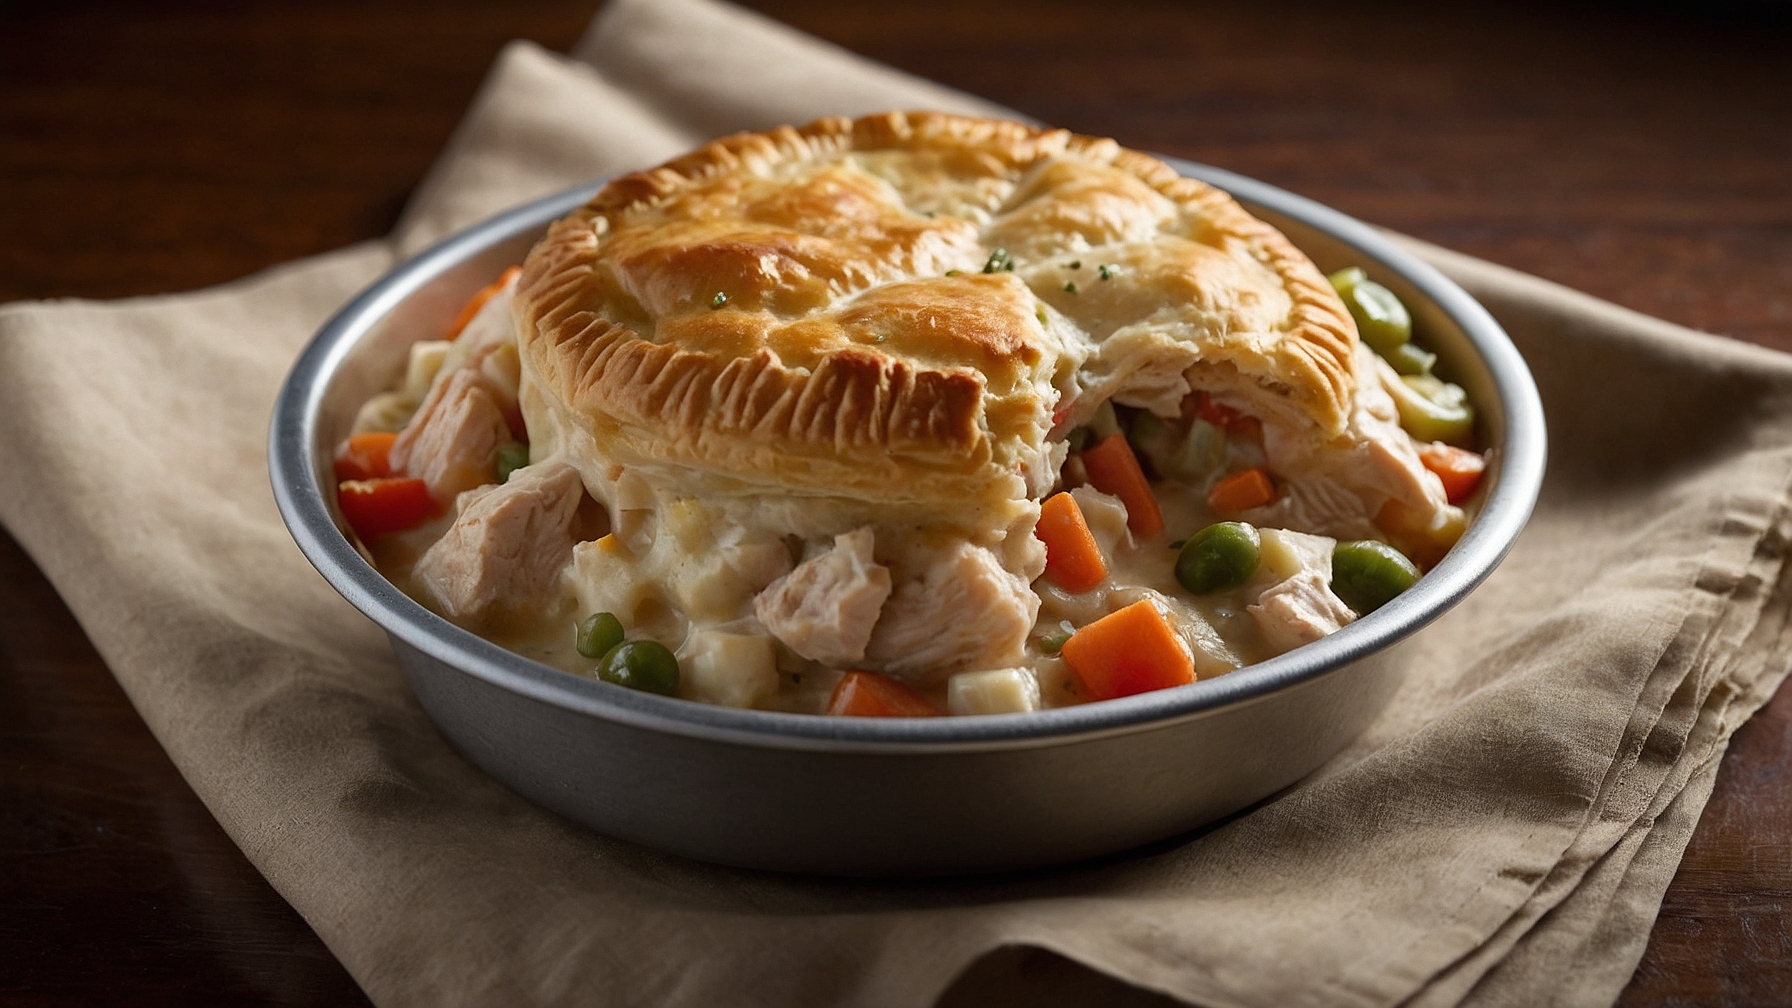
Elevate classic comfort food with this Red Lobster Biscuit Chicken Pot Pie, a unique take that replaces traditional pastry with a savory, golden Cheddar Bay Biscuit topping.
This streamlined recipe transforms a rich, creamy chicken and vegetable filling, built from common pantry ingredients like frozen mixed vegetables and cooked chicken, into a hearty, satisfying meal.
With only about 20 minutes of active prep time, this dish bakes to perfection, delivering tender chicken, vibrant vegetables, and cheesy biscuit goodness in approximately 55 minutes total.
It’s an excellent choice for a comforting family dinner or a cozy weekend gathering, requiring minimal side dishes due to its robust nature.
Red Lobster Biscuit Chicken Pot Pie
Prepare chicken pot pie with tender chicken, vegetables, creamy sauce, and Cheddar Bay Biscuit topping.
Ingredients
- 2 tbsp (30ml) unsalted butter
- 1 tbsp (15ml) olive oil
- 1 lb (450g) boneless, skinless chicken breasts or thighs, cut into 1/2-inch (1.3cm) cubes
- 1 large (150g) yellow onion, diced
- 2 medium (240g) carrots, peeled and diced
- 2 stalks (120g) celery, diced
- 2 cloves (6g) garlic, minced
- 1/2 cup (60g) all-purpose flour
- 2 cups (480ml) chicken broth, low sodium
- 1 cup (240ml) whole milk or half-and-half
- 1 tsp (5ml) dried thyme
- 1/2 tsp (2.5ml) black pepper, freshly ground
- 1/4 tsp (1.25ml) salt
- 1 cup (150g) frozen peas
- 1 cup (150g) frozen corn kernels
- 2 tbsp (30ml) fresh parsley, chopped (optional, for garnish)
For the Cheddar Bay Biscuits
- 2 cups (240g) all-purpose flour
- 1 tbsp (15ml) baking powder
- 1/2 tsp (2.5ml) granulated sugar
- 1/2 tsp (2.5ml) salt
- 1/2 tsp (2.5ml) garlic powder
- 1/2 cup (113g) unsalted butter, very cold and cut into 1/2-inch (1.3cm) cubes
- 1 cup (240ml) buttermilk, cold
- 1 cup (113g) sharp cheddar cheese, shredded
For the Garlic Butter Topping
- 2 tbsp (30ml) unsalted butter, melted
- 1 clove (3g) garlic, minced
- 1/2 tsp (2.5ml) dried parsley flakes
Instructions
Part 1: Prepare the Cheddar Bay Biscuit Dough
- Preheat oven to 400°F (200°C). Line a baking sheet with parchment paper.
- In a large bowl, whisk 2 cups (240g) all-purpose flour, 1 tbsp (15ml) baking powder, 1/2 tsp (2.5ml) granulated sugar, 1/2 tsp (2.5ml) salt, and 1/2 tsp (2.5ml) garlic powder for 15 seconds until combined.
- Add 1/2 cup (113g) very cold, cubed unsalted butter. Cut butter into flour mixture using a pastry blender or fingertips until coarse crumbs with pea-sized butter pieces form.
- Stir in 1 cup (113g) shredded sharp cheddar cheese. Gradually add 1 cup (240ml) cold buttermilk. Mix gently until just combined and a shaggy dough forms; avoid overmixing to prevent tough biscuits.
- Turn dough onto a lightly floured surface. Pat dough into a 3/4-inch (2cm) thick rectangle. Cut 8-10 biscuits using a 2-inch (5cm) biscuit cutter or knife. Re-pat scraps once to cut additional biscuits.
Part 2: Cook the Chicken Pot Pie Filling
- Heat 1 tbsp (15ml) olive oil in a large oven-safe skillet over medium-high heat. Add 1 lb (450g) cubed chicken; cook 5-7 minutes, stirring occasionally, until lightly browned. Remove chicken; set aside.
- Reduce heat to medium. Add 2 tbsp (30ml) unsalted butter to skillet. Add 1 diced yellow onion, 2 diced carrots, and 2 diced celery. Cook 8-10 minutes, stirring frequently, until vegetables soften. Add 2 minced garlic cloves; cook 1 minute until fragrant.
- Sprinkle 1/2 cup (60g) all-purpose flour over vegetables. Cook 1-2 minutes, stirring constantly, until flour absorbs and forms a light golden paste (roux).
- Gradually whisk in 2 cups (480ml) low sodium chicken broth and 1 cup (240ml) whole milk or half-and-half, preventing lumps. Bring to a gentle simmer, stirring frequently. Cook 5-7 minutes until sauce thickens.
- Stir in 1 tsp (5ml) dried thyme, 1/2 tsp (2.5ml) black pepper, and 1/4 tsp (1.25ml) salt. Return cooked chicken to skillet. Add 1 cup (150g) frozen peas and 1 cup (150g) frozen corn. Stir to combine until warm and gently bubbling.
Part 3: Assemble and Bake the Pot Pie
- Spoon hot filling into a 9×13 inch (23×33 cm) baking dish or oven-safe skillet. Arrange biscuit dough on top, leaving space for expansion.
- Transfer dish or skillet to preheated 400°F (200°C) oven. Bake 25-30 minutes until biscuit tops are golden brown and filling visibly bubbles.
- While pot pie bakes, melt 2 tbsp (30ml) unsalted butter in a small microwave-safe bowl. Stir in 1 minced garlic clove and 1/2 tsp (2.5ml) dried parsley flakes.
- Immediately remove from oven and brush golden-brown biscuits with garlic butter. Rest pot pie 5-10 minutes before serving for filling to set. Garnish with fresh chopped parsley if desired.
Notes
- Prepare filling up to 2 days ahead; refrigerate. Reheat gently before topping with fresh biscuit dough and baking.
- Substitute vegetables like mushrooms, green beans, or potatoes. Cut into small pieces for even cooking.
- Store leftover biscuits in an airtight container at room temperature for up to 2 days. Reheat gently in a toaster oven for best results.
- Prevent soggy biscuit bottoms: ensure hot filling when adding biscuits and bake immediately. A slightly thicker filling also helps.
Pro Tips for Perfect Biscuit Pot Pie
Ingredient Tips
- Cheddar Choice for Biscuits:Use 1 cup freshly grated sharp cheddar (9-12 months aged) for biscuits; its robust, tangy flavor will cut through the rich filling, unlike bland pre-shredded cheese.
- Optimal Chicken Shred Texture:Shred 3 cups rotisserie chicken into uniform 1/2-inch to 3/4-inch pieces for juicy, substantial bites that heat evenly without drying out during the 20-minute bake.
- Layered Garlic Butter for Authenticity:Combine 3 tbsp melted unsalted butter with 1 1/2 tsp garlic powder, 1/2 tsp onion powder, and 1/4 tsp dried parsley; brush half onto biscuit tops before baking, the rest immediately after for potent, authentic flavor.
- Vegetable Uniformity:Dice carrots, celery, and onion into precise 1/4-inch cubes (1 cup each), guaranteeing vegetables become perfectly fork-tender after 8-10 minutes simmering, preventing textural inconsistencies.
- Roux Flour Preparation:Use 1/4 cup unbleached all-purpose flour for the roux; toast with butter for 2 minutes over medium heat until nutty aroma and pale straw color appear, eliminating raw flour taste.
- Balanced Dairy Blend:Whisk 3 1/2 cups low-sodium chicken broth with 1 1/2 cups heavy cream for the filling, creating a lusciously rich, velvety consistency that evenly coats ingredients and resists splitting.
Technique Tips
- Achieving Perfect Roux Consistency:Melt 1/4 cup unsalted butter, whisk in 1/4 cup all-purpose flour. Cook over medium heat for 2-3 minutes, stirring, until a smooth, light tan paste slides off the spoon.
- Lump-Free Liquid Integration:Slowly whisk in 5 cups combined chicken broth/heavy cream, 1 cup at a time. Allow each addition to incorporate and thicken for ~60 seconds, preventing lumps and ensuring silky gravy.
- Optimal Filling Simmer & Thickness:Simmer filling gently (small edge bubbles) for 12-15 minutes, stirring. It should thickly coat a spoon back, and carrots be easily fork-pierced.
- Preventing Soggy Biscuit Bottoms (Pre-Bake):For crispness, pre-bake 8-10 biscuit rounds (2.5-inch) on parchment at 375°F (190°C) for 8-10 minutes until lightly golden, then transfer immediately to hot pot pie.
- Pot Pie Baking Protocol:Bake assembled pot pie at 375°F (190°C) for 20-25 minutes. Filling should bubble vigorously at edges, and biscuit tops be deep golden brown.
- Essential Resting Period:Rest pot pie 10-15 minutes on a wire rack after baking. This crucial step sets the hot filling, preventing runniness and yielding neater, stable servings.
Common Issues
- Filling Too Thin:If the filling is watery after 15 minutes simmering, whisk 1 tbsp cornstarch with 2 tbsp cold water for a slurry, then stir into the simmering filling for an additional 2-3 minutes until it coats a spoon.
- Biscuits Over-Browning:If biscuit tops darken too quickly before filling bubbles, gently tent baking dish with aluminum foil after the first 15 minutes, diffusing direct heat and allowing the interior to finish cooking.
- Lumpy Gravy:Ensure your roux is smooth after 2 minutes cooking. To prevent lumps, add cold or room temp liquids to a hot roux (or vice versa), whisking vigorously for 30 seconds after each 1-cup addition.
- Dry Chicken:To maintain moisture, add 3 cups shredded chicken to the simmering gravy only after it has thickened (around 10-12 minutes), heating it through for just 2-3 minutes before transferring to the baking dish.
- Bland Flavor Profile:If lacking depth, add 1 1/2 tsp kosher salt, 1/2 tsp black pepper, and 1/4 tsp dried thyme to the filling with the broth. For an umami boost, stir in 1/2 tsp chicken bouillon powder during the last 5 minutes simmering.
How to Store, Reheat, and Serve Your Pot Pie
Refrigerator Storage
Duration: 5-7 days in airtight container
For best quality, store any leftover Red Lobster Biscuit Chicken Pot Pie in an airtight glass or sturdy plastic container. This prevents air exposure which can dry out the filling and affect the biscuit topping. While the pot pie is safe to eat for up to 7 days, the quality, particularly the texture of the signature cheddar bay biscuits, begins to decline after day 3. The biscuits will gradually soften and absorb moisture from the filling, losing their initial crisp exterior. The creamy filling may thicken slightly, and the vibrant garlic and cheddar flavors from the biscuits might mellow a bit over time. It’s still delicious, but the textural contrast is best within the first few days.
Freezer Storage
Duration: 2-3 months
To freeze, allow the pot pie to cool completely. For individual servings, wrap each portion tightly in plastic wrap, then an additional layer of aluminum foil to prevent freezer burn. If freezing a whole pie, wrap the entire dish securely in several layers of plastic wrap and foil. Label with the date. When ready to reheat, thaw frozen portions overnight in the refrigerator. Expect some texture changes: the biscuit topping may become slightly crumbly or tougher once thawed and reheated due to moisture migration. The creamy sauce might also lose a bit of its velvety smoothness, potentially becoming slightly grainy or separating minimally, though a good stir upon reheating can often mitigate this. Freezing is recommended more for the filling than the biscuit topping.
Reheating Instructions
- Oven (Best Method):Preheat oven to 350°F. For refrigerated pie, cover loosely with foil to prevent over-browning of biscuits and heat for 15-20 minutes, then uncover for another 5 minutes to re-crisp biscuits. For thawed pie, bake at 350°F for 30-40 minutes, covering initially. The pot pie is ready when the biscuit topping is golden and crisp, and the filling is bubbling hot throughout (internal temperature of 165°F). This method works best for restoring a crisp biscuit and thoroughly heating the creamy filling.
- Microwave (Quick Method):Place a single serving in a microwave-safe dish. Heat on medium-high power for 1-2 minutes, then stir the filling gently. Continue heating in 30-second intervals until the pie is hot through. The biscuits will become very soft and lose their crispness with this method, and the filling can heat unevenly. This method is convenient but biscuits will be soft, and the filling may have hot spots.
- Air Fryer (Good for Small Portions):Place a single serving of pie in an air fryer basket. Heat at 325°F for 8-12 minutes, checking halfway. If biscuits are browning too quickly, loosely cover with foil. The pot pie is ready when the biscuits are lightly re-crisped and the filling is piping hot. This method is excellent for re-crisping biscuits and quickly heating small portions, offering a good balance between speed and texture.
Make-Ahead Tips
The chicken pot pie filling can be prepared entirely in advance. Cook the chicken, vegetables, and sauce, then allow it to cool completely before transferring it to an airtight container. Store the filling in the refrigerator for 2-3 days. When you’re ready to serve, simply reheat the filling gently on the stovetop until simmering, then spoon it into an oven-safe dish. The Red Lobster Cheddar Bay Biscuits, however, are best baked fresh. Prepare the biscuit dough (or use a mix) and bake them just before serving to achieve their signature warm, fluffy, and cheesy texture. Alternatively, you can pre-bake the biscuits, but they will need a quick refresh in a 350°F oven for 5-7 minutes to regain some warmth and crispness before being placed atop the hot filling.