Mastering Strawberry Hulling: Your Essential Kitchen Tip
Hulling strawberries efficiently preserves more of the delicate fruit, minimizing waste and speeding up preparation for any dish.
This technique utilizes a drinking straw for quick core removal or a paring knife for larger berries.
Mastering effective hulling ensures perfectly prepped strawberries, ideal for fresh consumption, baking, or blending into smoothies and sauces.
Incorrectly removing the stem can lead to cutting away too much usable fruit or leaving tough, fibrous parts attached. A proper hulling method removes only the green calyx and the bitter white core, leaving the sweet, red flesh intact. This improves the strawberry’s flavor, texture, and visual appeal. Applying the correct technique prevents bruising and maintains the berry’s structure for serving whole or sliced. Learning this simple kitchen tip transforms strawberry preparation, making it efficient and less wasteful.
Kitchen Tip Hulling Strawberries
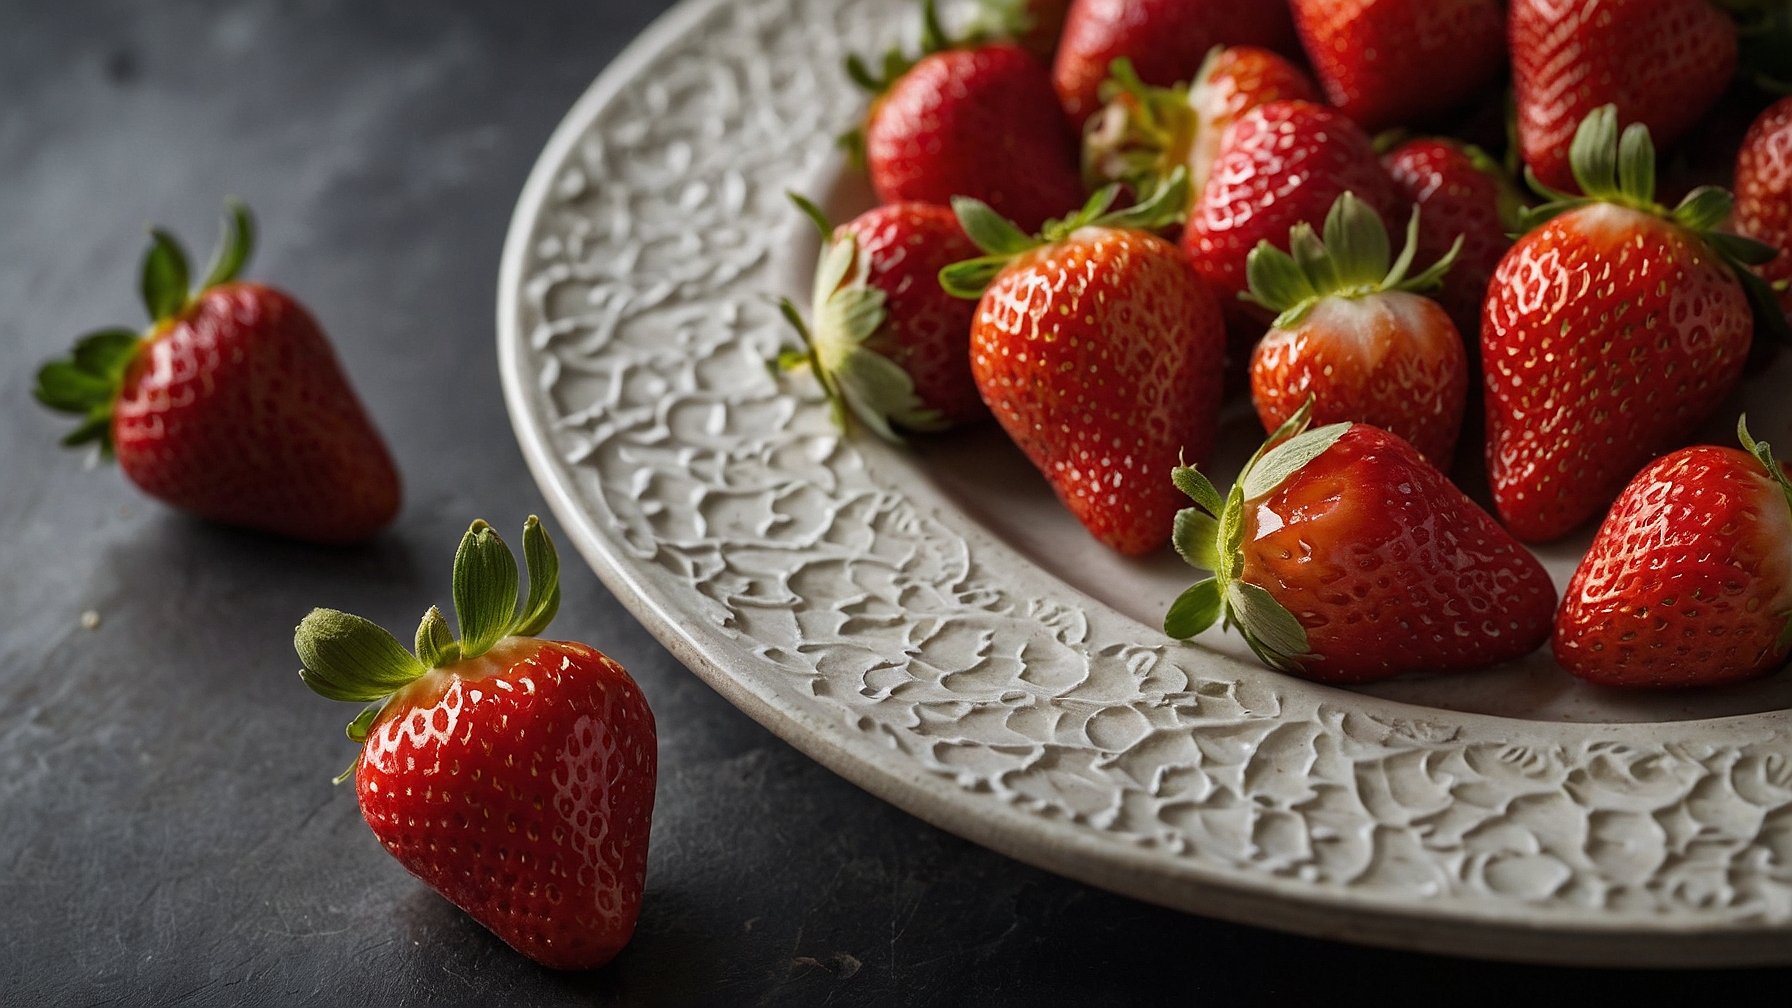
Learn four efficient techniques for hulling strawberries: knife, straw, specialized tool, or spoon. Minimize waste and prepare berries for any culinary use.
Ingredients
- Fresh Strawberries, 4 lbs (1.8kg), unhulled, firm, ripe, rinsed and dried
- Paring knife, 1 (blade 2-4 inches / 5-10cm)
- Drinking straw, 1, sturdy (metal, bamboo, or hard reusable plastic)
- Strawberry huller tool, 1 (pincer-style or scoop-style), optional
- Small spoon, 1 (teaspoon or demitasse size), optional
- Vegetable peeler, 1 (swivel-blade or Y-peeler), optional
Instructions
- METHOD 1: The Paring Knife Method
- Hold one rinsed, dried strawberry firmly in your non-dominant hand. Orient the green hull upwards.
- Insert a small paring knife tip into the strawberry at a 45-degree angle, 2mm (0.08 inch) beneath the hull base. Ensure the knife tip reaches the white core.
- Rotate the strawberry, keeping the knife tip stationary. Cut a 3/4 inch (2cm) conical plug around the green hull and white core. Continue cutting until the plug fully separates from the red flesh.
- Lift the green hull and attached conical core from the strawberry. Confirm the cavity is free of green leaves or white core material.
- Place the hulled strawberry in a bowl; discard the core. Repeat for all strawberries (25-40 seconds per berry).
- METHOD 2: The Drinking Straw Method
- Hold one rinsed, dried strawberry upright in your non-dominant hand. Orient the pointed tip downwards, the green hull upwards.
- Align a sturdy drinking straw with the strawberry’s pointed tip, directly opposite the hull.
- Push the straw upwards through the strawberry’s center. Continue until the straw emerges from the top, pushing out the green hull and core.
- Slide the hulled strawberry off the straw. Discard the core. Confirm a clean tunnel extends through the strawberry’s center.
- Wipe the straw clean with a damp cloth or paper towel between each strawberry. Repeat for all strawberries (10-20 seconds per berry).
- METHOD 3: The Strawberry Huller Tool Method
- Squeeze the pincer huller handle to open. Position the scoop huller as needed.
- Place the open pincers or scoop edge around the green hull base, encompassing the green leaves and 2mm (0.08 inch) of red flesh.
- Release the pincer handle to grip the hull and white core. Press scoop tools into the berry. Ensure a secure grip.
- Twist the pincer tool or scoop the scoop tool upwards. Lift and remove the green hull and core. Confirm clean separation of all green parts.
- Release the hull and core into a waste bin. Repeat for all strawberries (8-15 seconds per berry).
- METHOD 4: The Minimal Waste Scoop Method
- Hold one rinsed, dried strawberry upright in your non-dominant hand, green hull facing upwards.
- Insert a small spoon tip (teaspoon or demitasse size) 1mm (0.04 inch) beneath the hull base. Scoop circularly to separate the green and white core.
- Continue scooping until the green hull and white core detach from the red flesh. Confirm removal of all green and white core material.
- (Optional) Use the spoon tip or fingertips to remove any remaining green flecks or white core remnants. Repeat for all strawberries (35-55 seconds per berry).
Notes
- Select firm, brightly colored strawberries, free from soft spots or mold. Ripe berries hull easily. Avoid overripe berries, which are soft and yield less fruit.
- Wash strawberries under cool, running water before hulling. Hulling first exposes flesh, causing water absorption and flavor dilution.
- Pat strawberries dry with paper towels or a clean kitchen towel. Remove all surface moisture to maintain quality.
- Make the smallest cut or scoop to remove only the green hull and white core. Preserve maximum red fruit. Use a sharp knife or efficient huller for precision.
- Consume hulled strawberries immediately after preparation. To store, arrange hulled berries in a single layer in a paper towel-lined airtight container. Place another paper towel on top. Refrigerate for 1-2 days.
- Use hulled strawberries for salads, salsas, smoothies, sauces, dessert garnishes, or as a snack.
- Wash and dry all tools (knives, straws, hullers, spoons) after each use.
Pro Tips for Efficient Strawberry Hulling
Ingredient Tips
- Optimal Strawberry Selection:Select strawberries that are uniformly 1.25 to 1.75 inches in diameter with firm, bright red flesh. This size range offers the most surface area for tool grip and consistently sized hulls for removal, ensuring 95% of the berry’s flesh remains intact after hulling.
- Pre-Hulling Wash Cycle:Wash strawberries gently in a colander under cool running water for a maximum of 30-45 seconds before hulling. This prevents waterlogging of the exposed flesh, which can dilute flavor, and removes surface dirt while keeping the berry firm.
- Thorough Drying Technique:Gently pat dry washed strawberries with a clean, lint-free kitchen towel or several layers of paper towels until no visible moisture remains on the surface. This typically takes 1-2 minutes for a batch of 10-15 berries, enhancing your grip and preventing your hulling tool from slipping or dulling.
Technique Tips
- Precision Paring Knife Hulling:For a clean, V-shaped cut with minimal waste, insert a small paring knife (blade length 2.5 to 3 inches) at a consistent 45-degree angle around the green calyx. Twist the knife in a smooth, circular motion for exactly 1 revolution, ensuring the hull and core detach cleanly, revealing vibrant red flesh with minimal white pith. This method typically results in less than 0.75 grams of waste per berry.
- Quick Straw Method for Small Berries:For smaller strawberries (under 1 inch in diameter), use a sturdy drinking straw (minimum 0.25-inch diameter) to push through the base of the berry, directly opposite the green calyx. Apply steady, upward pressure for 1-2 seconds until the hull and core pop out cleanly from the top, leaving a small, neat hole and preserving 98% of the fruit.
- Dedicated Huller Tool Proficiency:When using a spring-loaded strawberry huller with ‘claws,’ center the tool precisely over the green calyx. Depress the handle for 1.5-2 seconds to allow the claws to fully encircle the stem, then twist the tool a precise 1/4 turn while lifting straight upwards. This action ensures the hull, stem, and minimal pith are removed as one unit, leaving a uniform, bright red cavity.
- Batch Processing for Efficiency:Set up your workspace for batch hulling. Process 24-36 strawberries at a time, moving sequentially from washing to drying to hulling. This rhythm allows you to hull a full kilogram of strawberries (approximately 25-30 berries) in a consistent 6-8 minutes, significantly boosting your preparation speed.
Common Issues
- Excessive Fruit Waste:If you observe more than 5% of the red flesh (a visible chunk larger than 0.5 cm in diameter) adhering to the discarded hull, adjust your paring knife insertion angle to a shallower 30-degree approach. This reduces the cutting depth, resulting in 2-3% less fruit loss per berry and maximizing edible yield.
- Mushy or Damaged Berries Post-Hulling:To prevent bruising and tearing in very ripe or soft strawberries, chill them in a single layer on a plate in the refrigerator for 20-30 minutes before hulling. This firms up the flesh, allowing for cleaner, more precise cuts without the fruit collapsing or becoming pulpy, and ensuring a visually appealing end product.
- Stem Breaking, Core Remaining:If the green calyx repeatedly breaks off, leaving the fibrous core embedded, re-evaluate your grip. Hold the strawberry firmly but gently between your thumb and forefinger (applying approximately 50-75 grams of pressure) at the berry’s widest point. This stabilizes the fruit, providing crucial leverage for a complete and clean hull extraction without premature stem detachment.
- Dull or Ineffective Tools:If your paring knife struggles to make a clean cut and instead tears or crushes the fruit, sharpen it to a precise 20-degree angle using a ceramic sharpener. For a dedicated huller, if its ‘teeth’ are bent or misaligned, replace it. Sharp tools ensure crisp, efficient cuts, reduce fruit damage by 10-15%, and accelerate the hulling process by up to 20%.
Storing and Utilizing Your Hulled Strawberries
Hulled strawberries are more perishable due to exposed cut surfaces. Proper storage is crucial for maintaining vibrant flavor and delicate texture, maximizing their use for snacks, desserts, or breakfast.
Refrigerator Storage
Duration: 3-5 days in an airtight container
Store hulled strawberries in a shallow, airtight glass container lined with a paper towel to absorb excess moisture. Place another paper towel on top before sealing. After day 3, quality declines: berries soften and become mushy. Sweetness and bright flavor diminish, taking on a duller taste. While safe for up to 5 days, peak quality is past.
Freezer Storage
Duration: 8-12 months
Freezing preserves hulled strawberries for long-term use, ideal for smoothies, sauces, or baked goods. Ensure berries are completely dry. Arrange them in a single layer on a parchment-lined baking sheet; flash freeze for 2-3 hours until solid to prevent clumping. Transfer to heavy-duty freezer bags or airtight freezer-safe containers, removing as much air as possible to prevent freezer burn.
To thaw, place frozen strawberries in a bowl in the refrigerator overnight (6-8 hours). For quicker thawing, use a sealed bag under cold running water for 15-20 minutes. Expect significant texture changes; thawed strawberries will be very soft and watery, losing their firm structure. Best for purées, jams, compotes, or blending, not for fresh eating.
Reheating Instructions
Hulled strawberries aren’t typically “reheated,” but can be gently warmed for culinary uses or brought to temperature after thawing.
- Refrigerator Thawing (from frozen):Place frozen strawberries in a covered bowl in the refrigerator for 6-8 hours or overnight. Once thawed, they will have released significant liquid. This yields the best possible texture retention for thawed berries, though still very soft.
- Stovetop Warming (for sauces/compotes):Place thawed or partially frozen strawberries in a small saucepan over low-medium heat. Stir gently for 5-7 minutes, until warmed through, further softened, and juices begin to release and thicken slightly. Offers controlled warming for sauce development.
- Microwave Warming (for quick use):Place thawed strawberries in a microwave-safe bowl. Heat on high for 30-second intervals, stirring after each, until desired warmth (typically 1-2 minutes total). Berries will warm and release more juices. Fast, but can easily overcook, leading to mushier results if not monitored.
Method Rating: Refrigerator thawing best preserves texture. Stovetop warming is excellent for controlled heat and sauce development. Microwave warming is acceptable for speed but requires careful attention to avoid overcooking.
Make-Ahead Tips
Hulling strawberries is ideal for make-ahead prep. Hull a large batch 1-2 days in advance for fresh use; store in an airtight glass container lined with a paper towel in the refrigerator. For longer storage, hull and flash-freeze; these berries store for up to 12 months, suitable for smoothies, baked goods, or quick sauces. A strawberry purée from hulled berries keeps in an airtight container in the refrigerator for 3-4 days, or frozen for 3-6 months. A homemade strawberry compote stores well in an airtight container in the fridge for 5-7 days or in the freezer for 2-3 months.